L&TD
LOGGING & TESTING DIVISION

Tubing Inspection by 24 Fingers MIT
 |
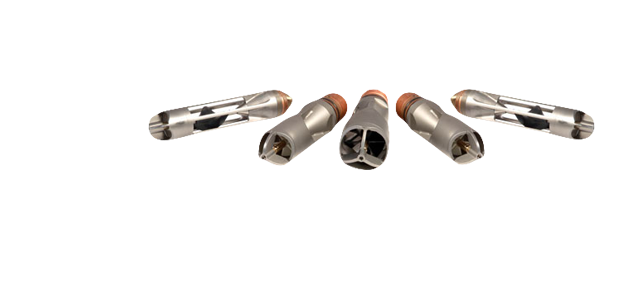
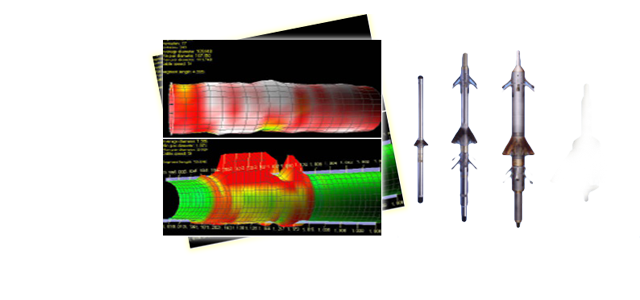
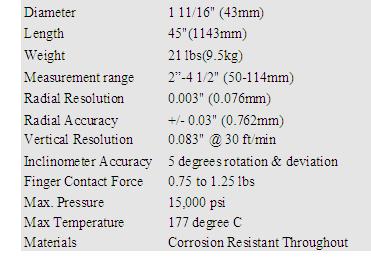
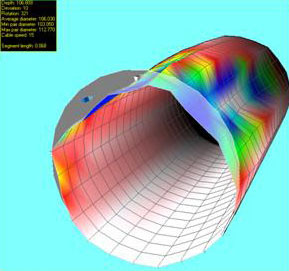
DESCRIPTION The Sondex 24 finger MIT has been designed to provide the most accurate tubing caliper measurements in the industry. The high quality of the data allows for 3 dimensional imaging and the calculation of rates of corrosion or scale deposition. OPERATING PRINCIPLE The tool is run in the hole using mono-conductor cable or Slickline. Once at the bottom the fingers are motored open. The spring loaded, hardened tip fingers push against the ID of the casing or tubing with a low constant force. As the tool is logged up the well, the movement of each finger is transferred to a position sensor. The output of the position sensor is then digitized for recording into memory or transmission up hole. Data from each finger is monitored independently. At the end of the run the fingers are motored closed for pulling out of hole or for repeat logging. The tool contains an inclinometer to denote the high side and well deviation. The temperature of the electronics is monitored for software correction of sensor drift. APPLICATIONS • Quantification of scale build up and corrosion. • Accurate location of holes or anomalies. • Identification of tubing items and damage. INTERFACES & TOOL COMBINATIONS Switch-able for operation with other PLT tools (Ultralink only). OPTIONS Stainless Steel or Beryllium-Copper Fingers. Memory or Surface Readout (Slickline or Mono-conductor cable) MITpro statistical joint analysis software MITview 3D imaging software SPECIFICATIONS (1 11/16" 24 FINGER MIT)
|
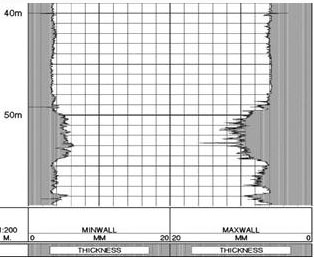
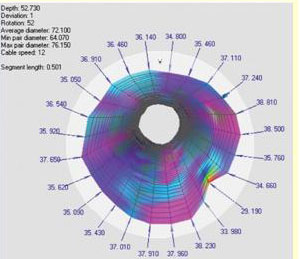
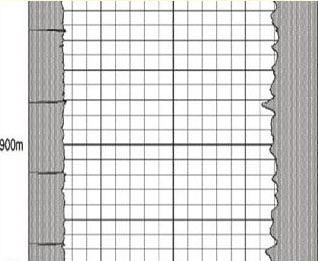
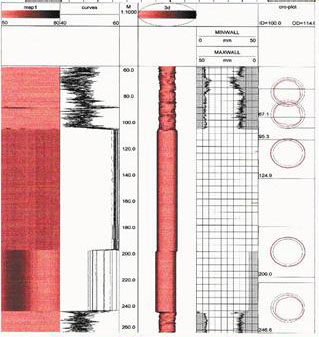
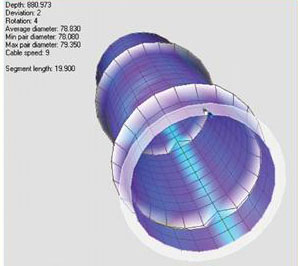
| The MIT-24 is widely used for tubing inspection in Vietsovpetro’s oil fields. Pictures below show some results of 1-11/16“ OD 24 FINGER MIT TOOL. |
 |
 |
 |
 |
 |
 |
