L&TD
LOGGING & TESTING DIVISION

Casing Inspection by 40-60 Fingers MIT
 |
DESCRIPTION
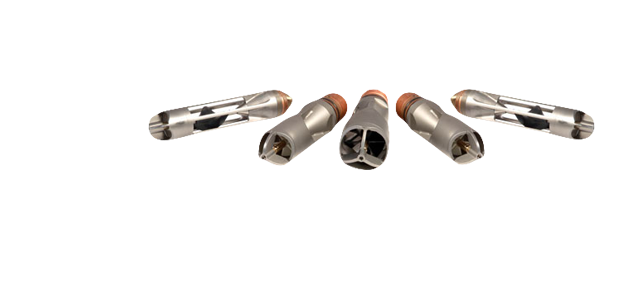
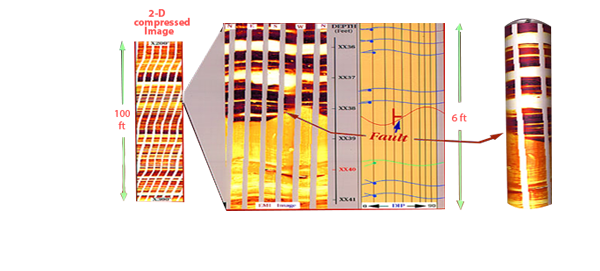
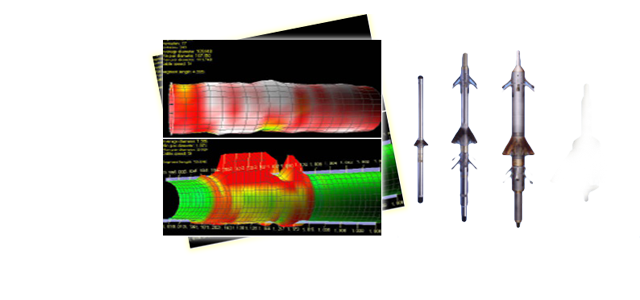
The Sondex 40 and 60 finger MITs have been designed to provide the most accurate casing caliper measurements in the industry. The high quality of the data allows for 3 dimensional imaging and the calculation of rates of corrosion or scale deposition. OPERATING PRINCIPLE The tool is run in the hole using mono-conductor cable or Slickline. Once at the bottom of the logging interval the fingers and integral centralisers are motored open. The spring loaded, hardened tip fingers push against the ID of the casing or tubing with a low constant force. As the tool is logged up the well, the movement of each finger is transferred to a position sensor. The output of the position sensor is then digitised for recording into memory or transmission uphole. Data from each finger is monitored independently. At the end of the run the fingers are motored closed for pulling out of hole or for repeat logging. The tool contains an inclinometer to denote the high side and well deviation. The temperature of the electronics is monitored for software correction of sensor drift.
Application: • Quantification of scale build up and corrosion. • Accurate location of holes or anomalies. • Identification of tubing items and damage.
INTERFACES & TOOL COMBINATIONS Switchable for operation with other PLT tools (Ultralink only).
SPECIFICATIONS
|
|
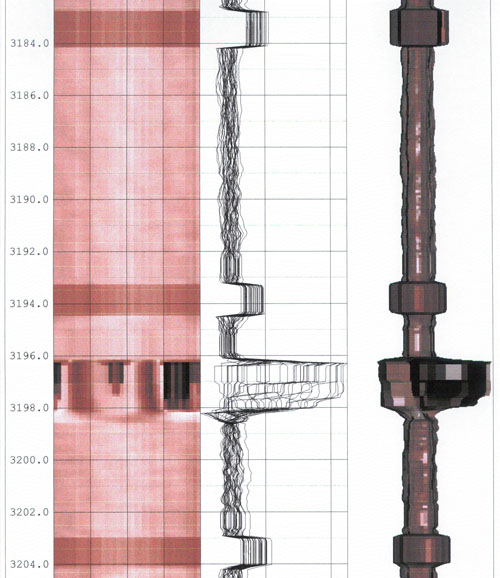
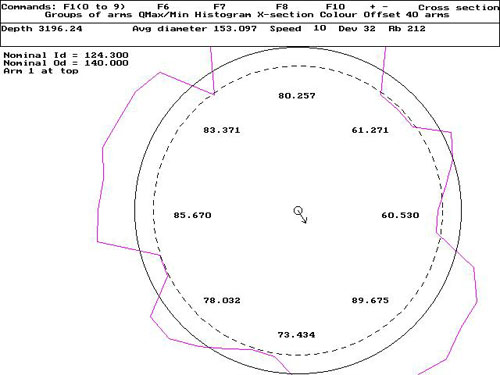
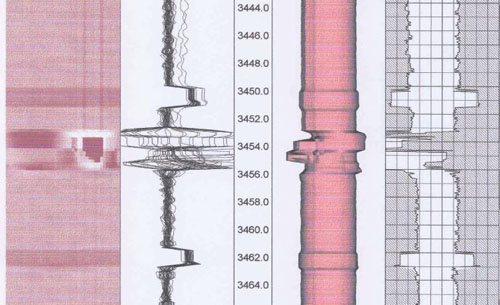
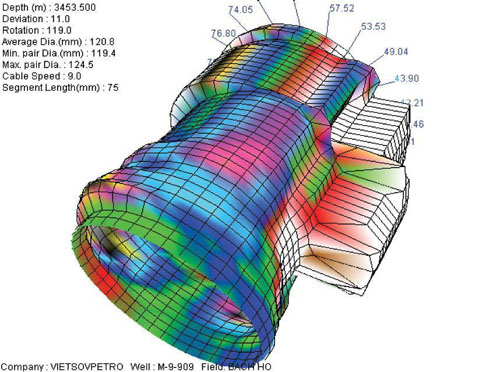
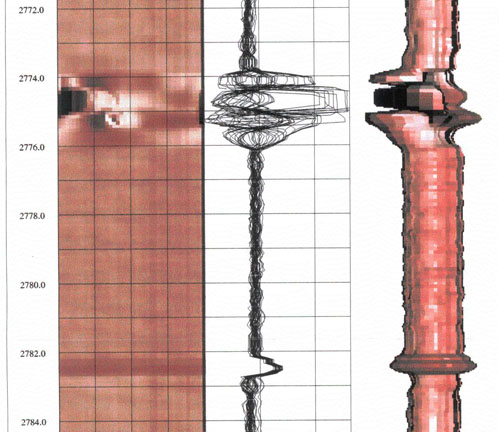
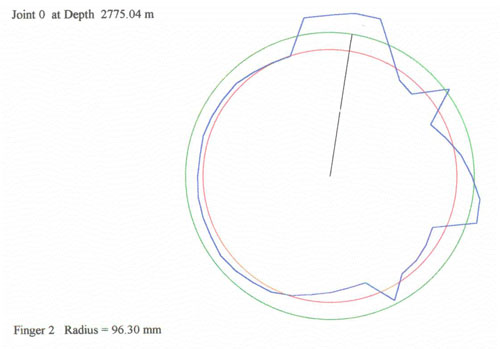
Up to now, Vietsovpetro L&TD has conducted more than 250 jobs of csing inspection using Sondex MultiFinger Image Tools in Vietsovpetro’s oil fields. The result of these surveys have allowed the company to plan the proper solution for remedial works. This is a very reliable, flexible tool with little less operation cost. It can be used in any well conditions (oil, gas, water, mud). The pictures below are typical cases of broken casings observed in White Tiger production wells using 40-60 fingers MIT tools. |
 |
 |
 |
 |
 |
 |
Nhóm Marketing
